Ideas for making cards, and I feature Tim’s the local art shop
July 8, 2012
How should an artist go about making cards?
I am currently putting together some ideas for a workshop on card-making for artists. The more I think about it, the wider the topic seems to be. Whatever the technique used, here are a few general pointers:
“Some golden rules of card-making”
However interesting the image, it needs to be “eye candy” (i.e. very pleasing).
The design as seen from a distance is more important than the detail.
Blank space around your design can be attractive.
When choosing colours, consider how the card will look on a mantelpiece or wall. Lay colours next to each other and check how pleasing the result before starting the image.
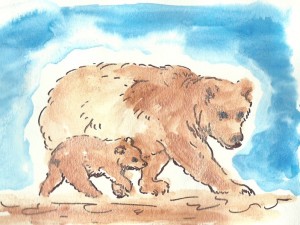
An appealing theme is a good idea (e.g. mother and baby animals) but design trumps theme. An outstanding design using a simple heart or birthday cake silhouette can be quite sufficient.
Getting started
If you already have artwork that looks good from a distance, this can be scanned or photographed and reproduced as cards. To use the original picture directly, mount it onto a card blank using Spray Mount.
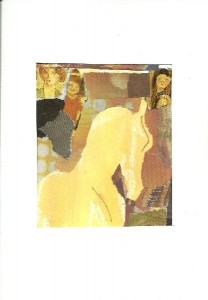
Some of your artwork may not be good enough to frame but perhaps contains one or more beautiful sections. These areas can be cut out and used. For example, you may end up with part of a figure, or even just an abstract design with beautiful colours and shapes that can be mounted onto a card blank. This is a really good tip for making use of artwork that would otherwise be discarded.
New ideas for cards
In the workshop, there will be the opportunity to try out three arty craft methods:
Ink and pen images
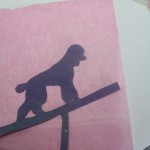
Silhouette techniques
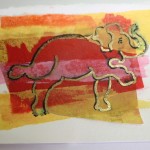
Tissue paper and pen layering (see further down for guided instructions)
Believe it or not, the elephant design (above) was taken from a photo of a pregnant elephant who was trained to do birthing exercises.
Art and craft shopping in Herts: Where to buy your stuff
Shopping for card-making is a real pleasure. For these cards, I have used FW acrylic inks, Staedtler Triplus Fineliner pens and various colours of tissue paper, card blanks, PVA glue, various brushes, coloured card and Pilot gold and silver pens.
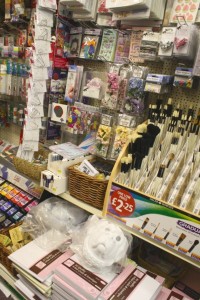
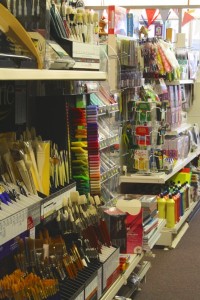
So, where should one go to buy this stuff in Hertfordshire? I highly recommend Tims Art Shop in Hitchin which is where I source most of my craft products and art materials. You’ll find this shop next to the market in Hitchin town centre.
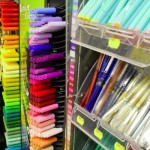
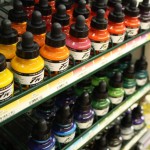
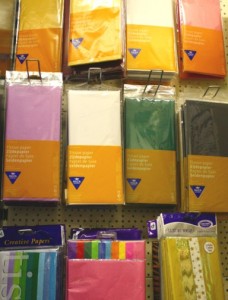
The photos above and below were taken in Tims. Here I’m just showing small sections of their craft selection. They are also really well-stocked in everything you need for the fine arts from dip pens to oil paints.
The staff are always friendly, and over the years have been great at pointing me in the direction of products that do indeed prove to be the most useful.
For the shop’s opening hours, contact details and information about their mail order service, click here to reach Tims Art Shop website.
Instructions for tissue paper layered designs
I do enjoy making these tissue paper designs as it gives me a chance to draw outlines at the same time as playing with colours and shapes. This sounds like nursery-school stuff but please do read on.
You will need:
Small (approx 8 by 8cm) piece of watercolour paper Scrap of opaque paper of your choice, e.g. newspaper or sugar paper Tissue paper in your choice of colours Felt tip pens (I used Staedtler Triplus Fineliner) PVA glue and a small old brush Pilot silver or gold pens (optional) Small “sticky fixers” Card blank and envelope Inspiration for your designMethod
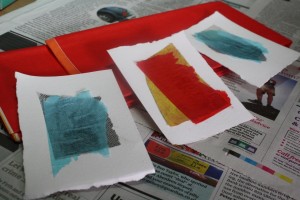
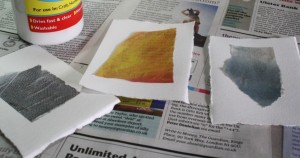
1) The piece of watercolour paper forms the backing for your design. Lay this out, and glue a piece of opaque paper on top. The opaque paper can be torn and placed fairly casually. For sticking, I suggest using PVA glue diluted about 2:1 with water. I make them in batches:
2) Tear off a piece of tissue paper, aiming to get it a little smaller than the glued opaque paper. Use the diluted PVA to glue it on top:
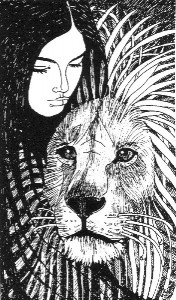
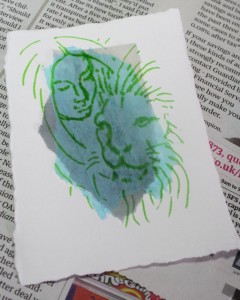
3) Draw the basic design directly onto this tissue paper layer using a felt-tip pen. I recommend using a mid-tone pen (so not pale yellow or jet black) at this stage. In the example below, I have copied the design from my own black and white lady and lion image (see here) that I had drawn some years ago in pen and ink:
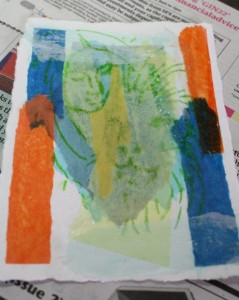
4) Tear off more small odd shapes of tissue paper and glue them, in places, on top of your drawing. Your initial drawing should be just about visible through the fresh layer of tissue paper. Play with “balancing” colours and shapes within the image.
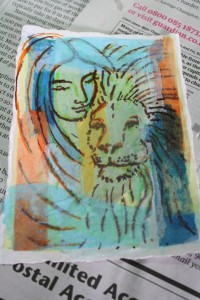
5) Trace over parts of your initial drawing using your choice of pen colour. It often works well to use some black in the final drawing. Some of the underlying drawing shows through, creating an interesting effect. If you make small drawing errors, or if you want to make part of your drawing less prominent, glue a piece of white or other pale tissue paper over that section. You can glue more tissue paper layers and redraw as many times as you like.
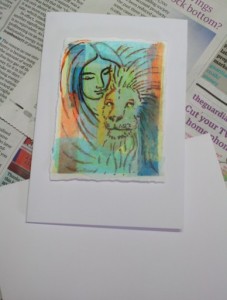
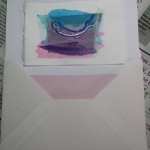
6) To finish: Find a card blank of appropriate size, or cut a piece of card and fold it. Attach eight tiny sticky fixers to the back of your design, one on each corner and one at the centre of each edge. Position the design carefully on the blank card and press down to fix in place.
Examples:
Here is the completed Lady and Lion card. The lion’s expression looks a bit odd here as I have added a little gold pen over his eyes and this has caught the light in the photo:
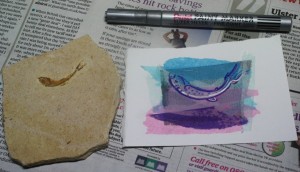
The following design was based on a fossil fish! I added silver pen lines when the glue was dry:
Further ideas
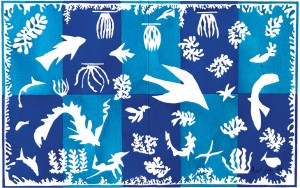
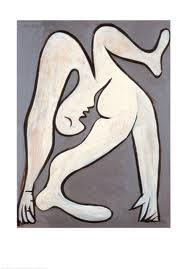
I enjoy looking at the overlap between craft, design and “fine art”. For fantastic inspiration for silhouettes, linear and flat colour card designs, look at these artists among others…
Henri Matisse
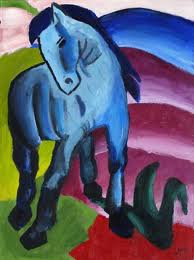
Franz Marc
Thanks to my father who informed me about this webpage, this blog is genuinely remarkable.